How to Remove Old Wallpaper Without Wall Damage
Old wallpaper rarely comes down as neatly as it went up. In many Hartford County homes, especially those with layered updates over decades, one room can hold several generations of paper, adhesive, patching, and paint. Knowing how to remove old wallpaper is less about finding a shortcut and more about using the right method for the wall beneath it.
The goal is not simply to get every strip off. It is to leave a clean, stable surface that is ready for repair, primer, and a long-lasting new finish. Rushing the process can tear drywall facing, expose weak seams, or leave behind adhesive that shows through fresh paint.
Start by Identifying the Wallpaper and Wall Surface
Before wetting anything, test a small, inconspicuous area. Lift a corner with a putty knife or wallpaper scraper. If the decorative layer peels away while a paper backing stays on the wall, you have strippable wallpaper. This is often the easier situation because the backing can be softened separately.
If the paper resists peeling, it may be traditional unpasted wallpaper, vinyl-coated paper, or paper installed directly over unprimed drywall. That last condition requires extra caution. Water can soak into exposed drywall paper and cause bubbling, tearing, or soft spots.
Older homes may also have plaster walls, which tolerate moisture differently than drywall. Plaster is generally less likely to tear, but cracks and loose areas can worsen if they are aggressively scraped. The best approach depends on what is behind the wallpaper, not just how stubborn the paper feels.
Protect the Room Before You Begin
Wallpaper removal is a wet, messy project. Adhesive residue can splash onto baseboards, floors, trim, outlets, and nearby furniture. Move what you can out of the room, then cover remaining pieces with plastic sheeting. Protect floors with drop cloths or rosin paper, particularly around the work area.
Turn off power to the room at the breaker before working around switches and outlets. Remove outlet and switch covers, and place painter's tape over the openings to help keep moisture out. Keep a trash bag or bin nearby, since wet wallpaper becomes heavy quickly.
For a typical room, gather a spray bottle or pump sprayer, warm water, wallpaper-removal solution, a scoring tool, a broad scraper, a smaller putty knife, sponges, buckets, and clean towels. A steamer can help with difficult adhesive, but it is not always the first choice. Too much heat and moisture can damage drywall just as easily as excessive scraping.
How to Remove Old Wallpaper in Manageable Sections
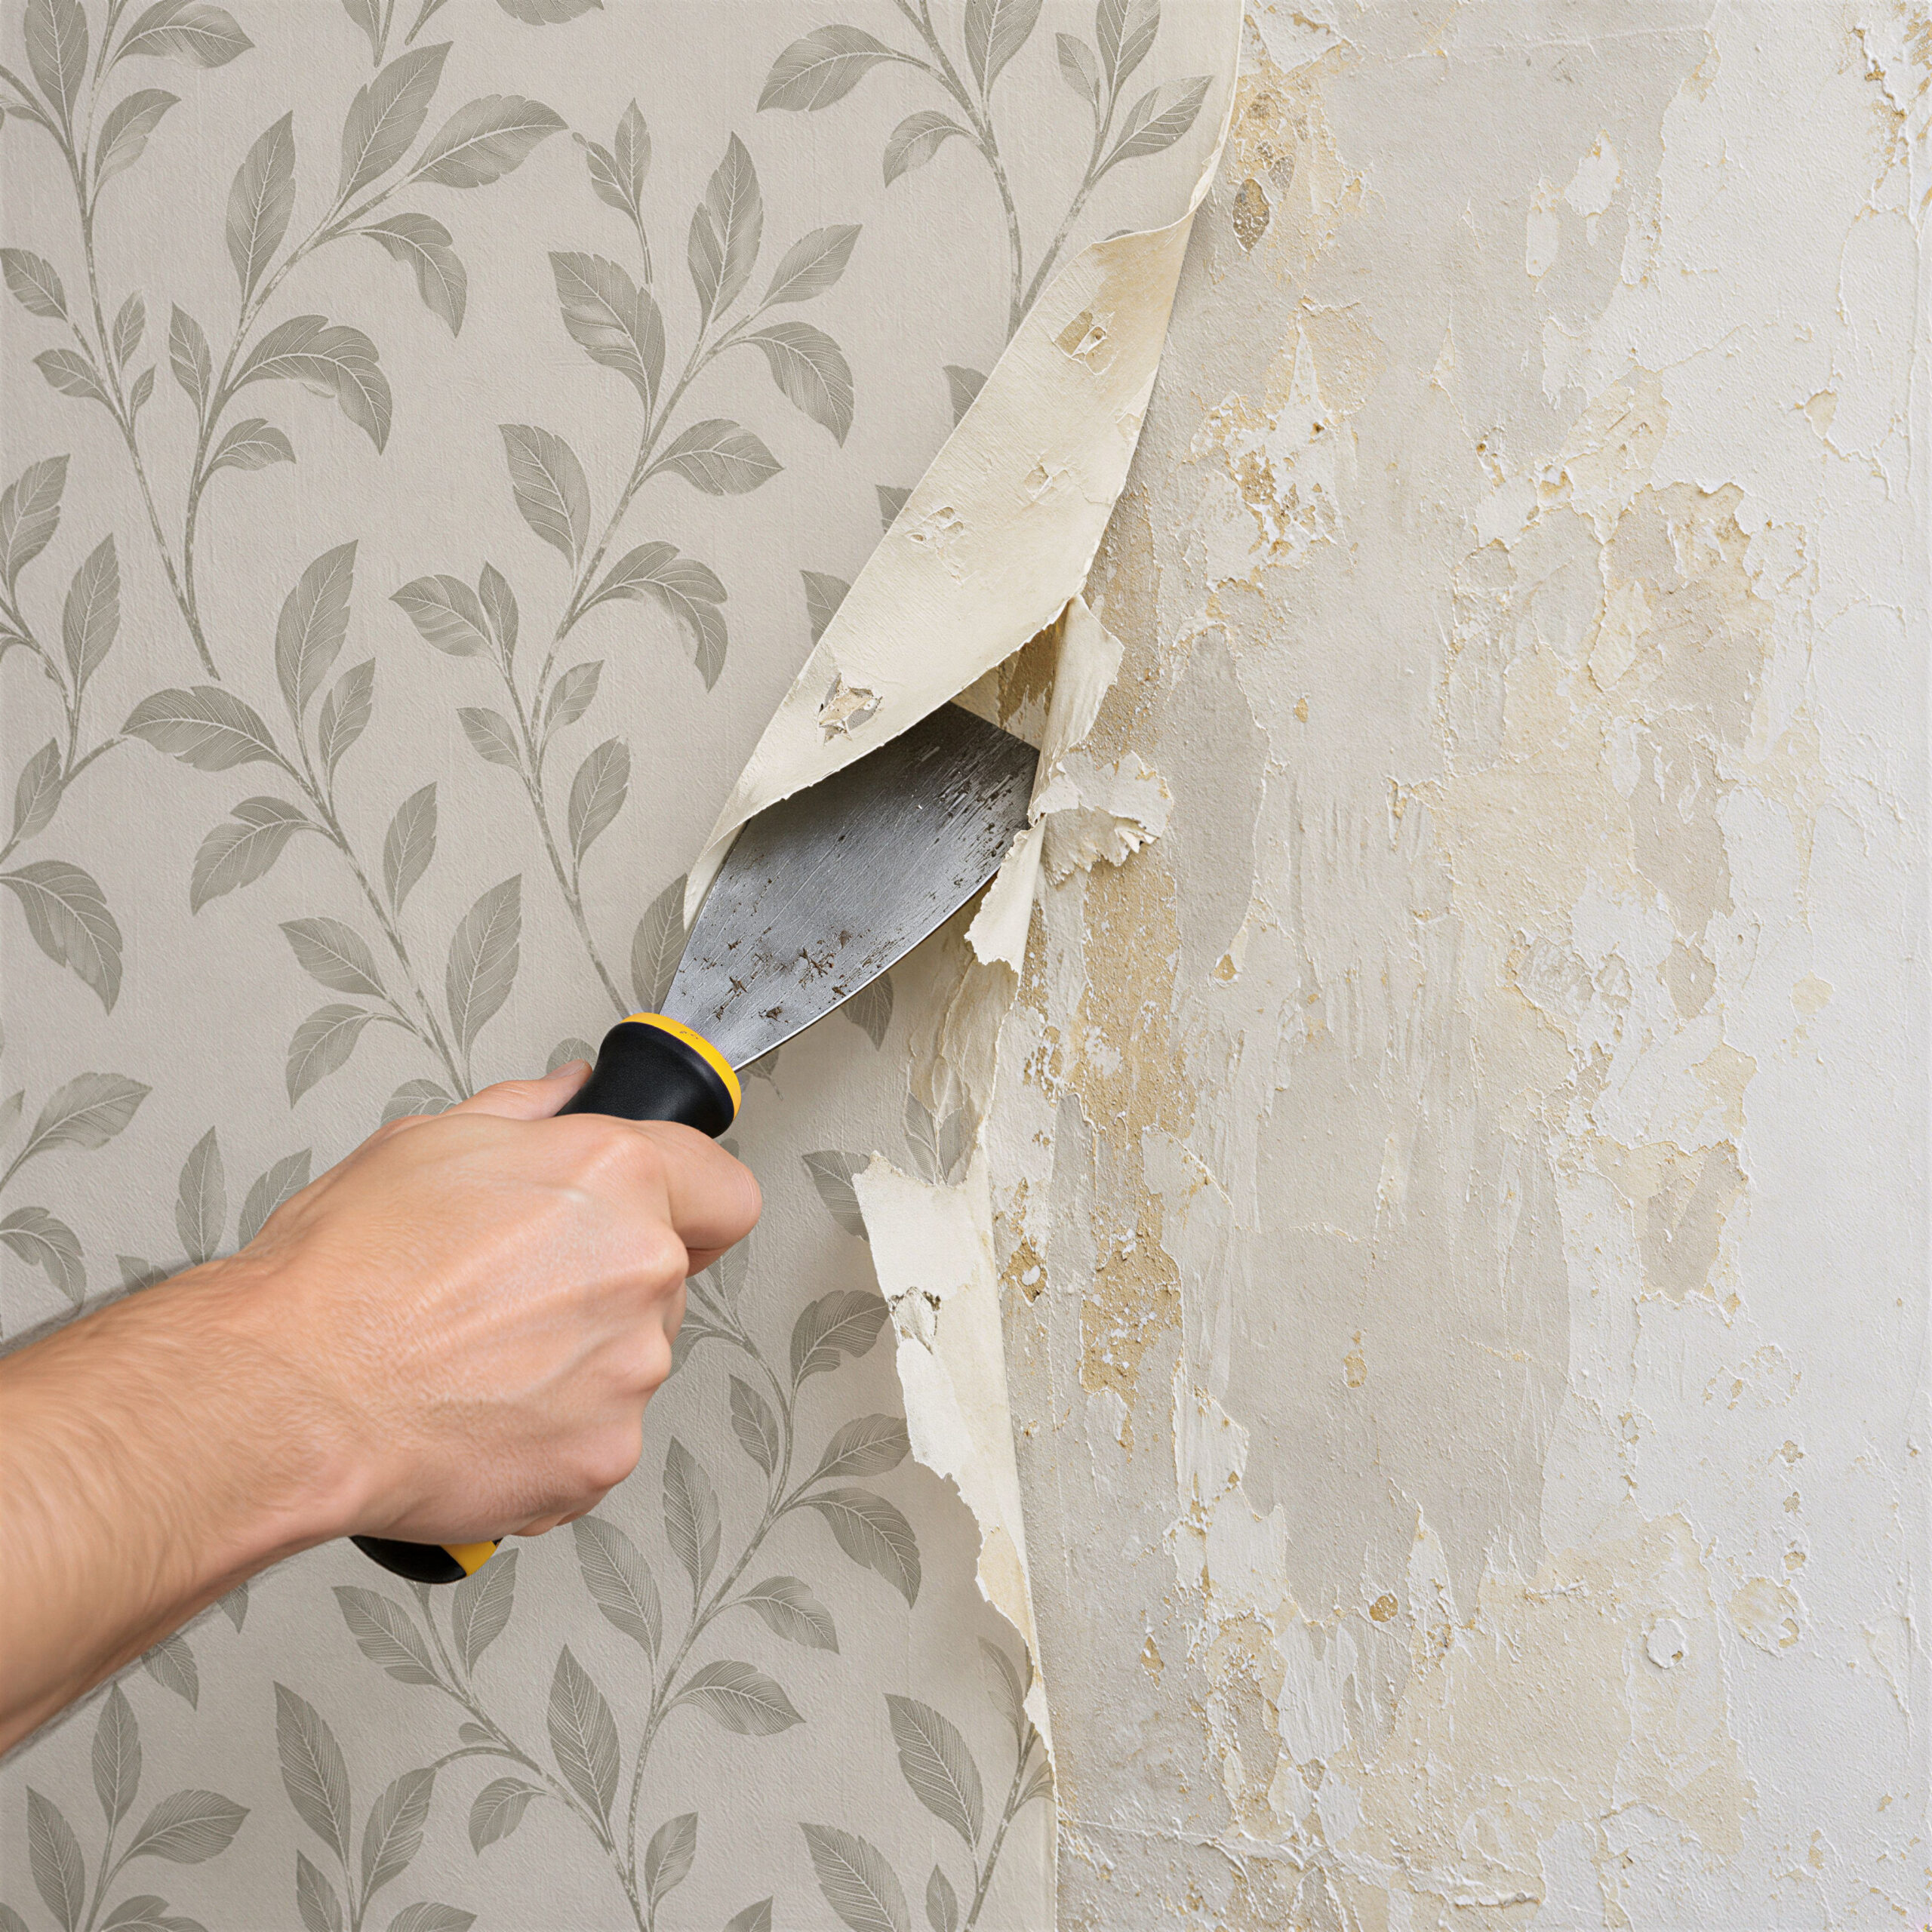
Work in small areas, usually about three feet wide. Starting at a seam or loose edge, gently pull away the top layer. Pull slowly and keep the paper close to the wall rather than pulling outward. This reduces the chance of lifting the drywall surface along with it.
When the wallpaper does not release dry, score it lightly. Scoring creates small openings that allow moisture to reach the adhesive under vinyl or coated wallpaper. Use light pressure. The purpose is to perforate the paper, not carve lines into the wallboard.
Apply your removal solution generously, then allow it to soak for several minutes. Warm water alone can work on some papers, while a commercial wallpaper-removal solution may be more effective on older adhesive. A mixture that is too weak will not loosen the paste; a wall that is over-saturated may create a different problem. Patience is usually more effective than adding force.
After the solution has had time to work, use a wide scraper at a low angle to lift the paper. Keep the blade nearly flat against the wall and use steady, controlled pressure. If the paper resists, stop and reapply solution rather than digging harder with the scraper.
Remove the Backing Paper Separately
With strippable wallpaper, the printed or vinyl face often comes off first. The remaining backing may look harmless, but it must also be removed unless it is specifically designed to be painted over and is fully bonded to a sound wall. In most repainting projects, removing it is the safer choice.
Wet the backing, let it soften, and scrape carefully. Check your progress with your hand. A wall can look clean while still feeling slick or tacky from leftover paste. That residue can interfere with primer and cause new paint to bond unevenly.
Clean Off Every Trace of Adhesive
This is the stage homeowners are most tempted to skip, and it often determines how the finished wall will look. Wallpaper paste can leave shiny patches, rough spots, or a slightly gummy film. Once paint is applied, those areas may flash differently in the light or cause the finish to fail prematurely.
Wash the wall with warm water and a sponge, changing the water frequently. For stubborn residue, use the recommended adhesive remover and follow its directions. Wipe the wall again with clean water afterward so chemical residue does not remain.
Let the wall dry fully, ideally overnight. Then run your palm across the surface under good lighting. If it feels gritty, tacky, or uneven, it needs more cleaning. A careful final wash is far less disruptive than repainting a wall with adhesion problems later.
Repair Damage Before Priming
Even a careful removal process can reveal small tears, nail holes, seam damage, and old repairs. Do not paint directly over torn drywall facing. First, trim away loose paper edges with a utility knife. Seal exposed brown drywall paper with the appropriate sealer, then apply joint compound in thin layers.
After the repair dries, sand it smooth with fine-grit sandpaper. Keep sanding contained and wipe away dust before moving on. If wallpaper removal exposes larger cracks, loose drywall tape, water staining, or widespread wall damage, the repair may need professional attention before painting begins.
Primer is not optional after wallpaper removal. A quality primer helps create a uniform surface, seals repaired areas, and improves paint adhesion. The right primer depends on the wall condition, including whether staining, exposed drywall paper, or residual adhesive remains. This is one reason a professional assessment can prevent a seemingly simple update from turning into a finish problem.
When a Steamer Helps - and When It Does Not
A wallpaper steamer can be useful for thick, old, heavily pasted wallpaper that does not respond to solution alone. Apply steam in short intervals, then scrape gently. Do not hold the steam plate in one place for too long, especially on drywall.
Steam is not the best first move for every room. It can create excess moisture, make cleanup more difficult, and loosen drywall seams if used aggressively. If you are working on a small powder room or a wall with unknown conditions, test a small section before committing to steam across the entire surface.
Know When to Bring in a Professional
Wallpaper removal can be a reasonable DIY project when the paper is newer, the room is small, and the wall is in good condition. It becomes more complicated when there are multiple wallpaper layers, fragile drywall, plaster cracks, moisture damage, high ceilings, or a tight timeline before painting.
A professional wallpaper removal project includes more than pulling paper. It should include room protection, controlled removal, adhesive cleanup, drywall repair, appropriate priming, and preparation for the final paint system. That process protects both the wall and the investment you are making in the room.
Fresh Coat Painters of Hartford County provides detailed on-site estimates for wallpaper removal and painting projects, with clear scope options and careful protection for occupied homes. For homeowners who want the room handled from surface preparation through the final coat, professional coordination can eliminate the uncertainty between removal and repainting.
A freshly painted wall only looks as good as the surface beneath it. Give old wallpaper the time, moisture, and careful preparation it requires, and the room will be ready for a finish that feels intentional rather than simply covered up.