
Common Interior Painting Mistakes Homeowners Make
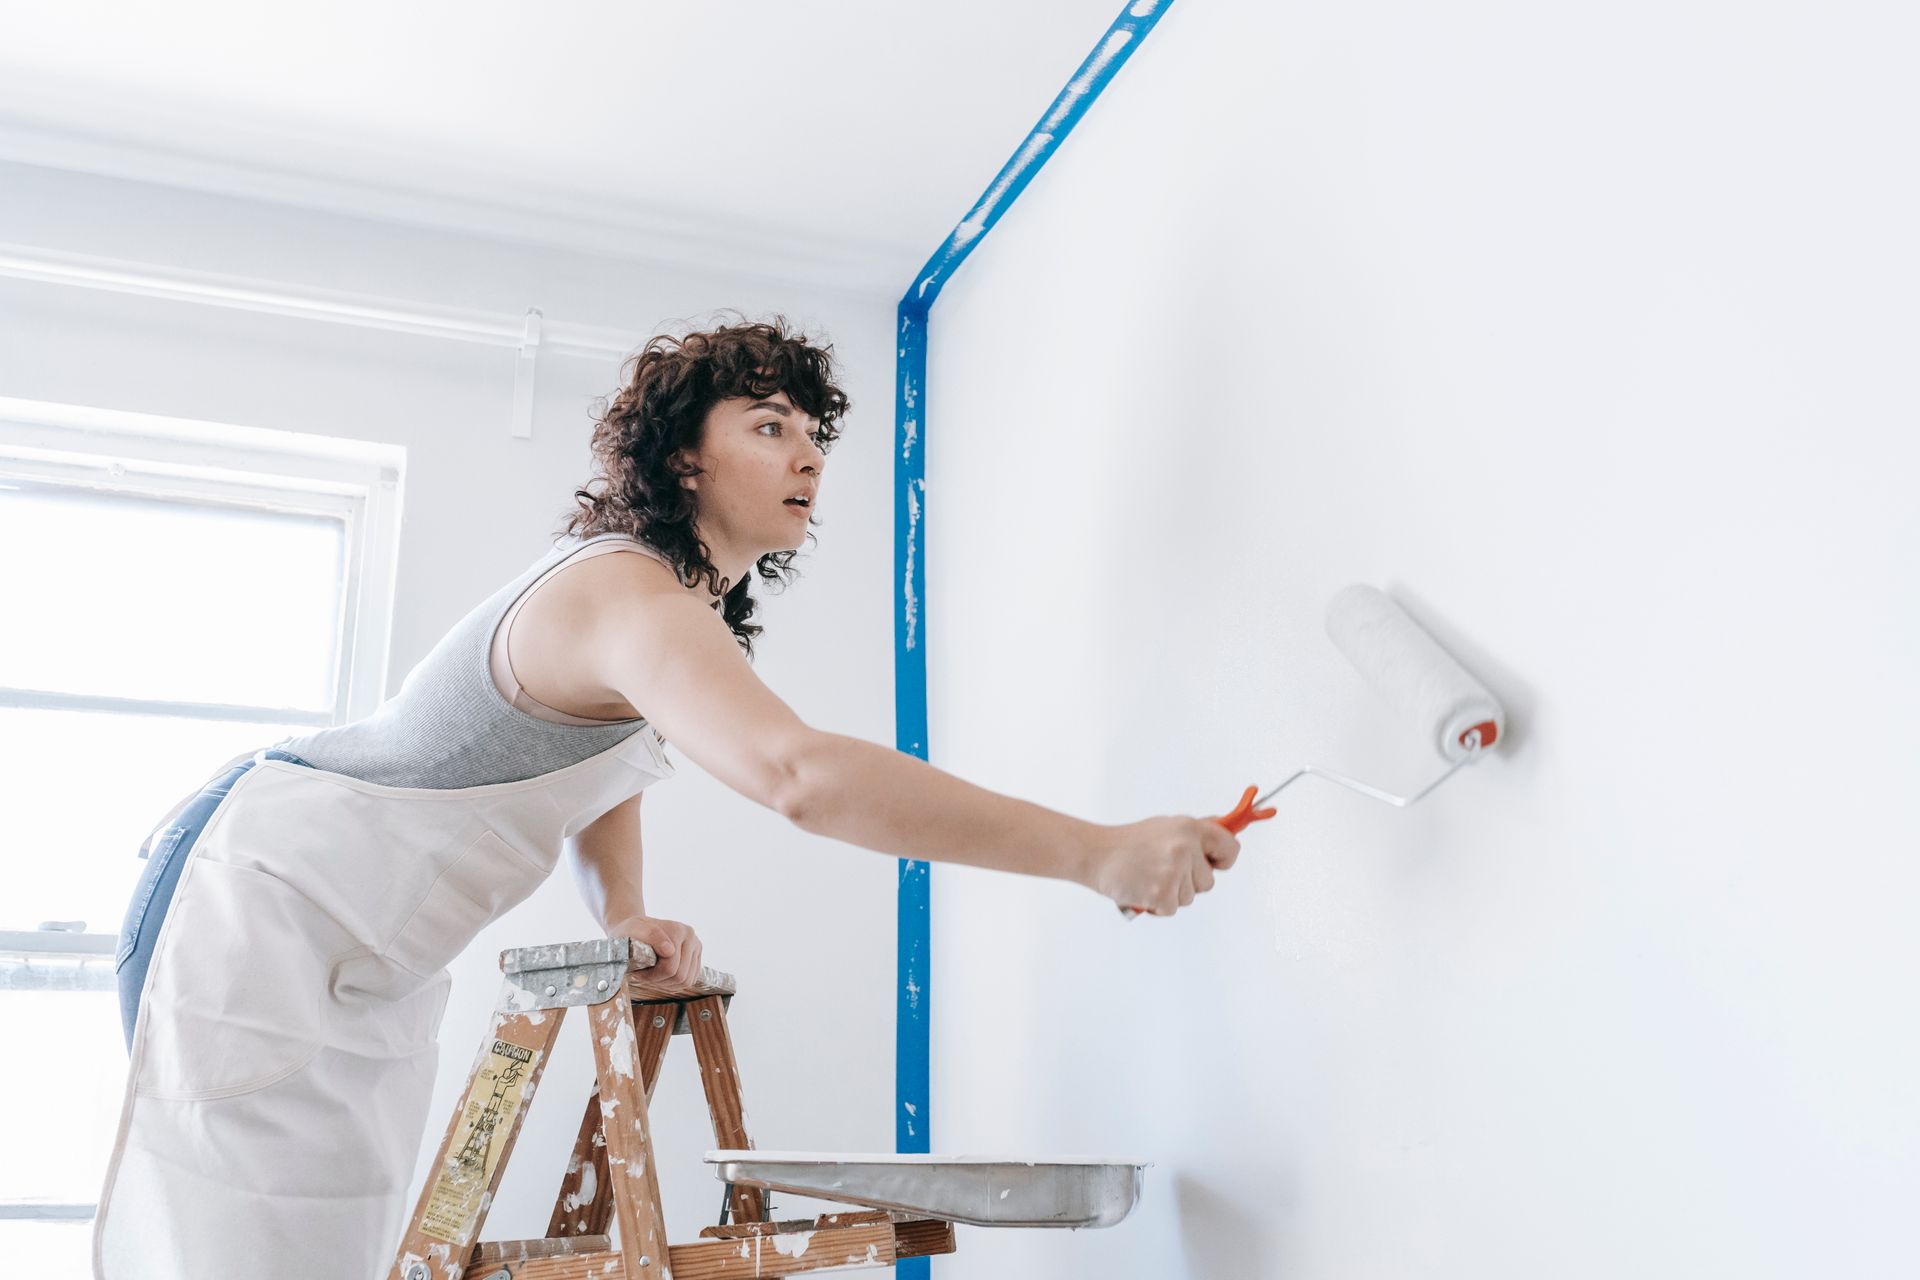
Interior painting looks deceptively simple. Pick a color, buy some paint, and roll it on. The reality is more demanding than that framing suggests, and the mistakes tend to compound. According to a 2024 survey of over 1,700 U.S. homeowners by Hippo Insurance, 47% of those who took on DIY home projects underestimated the time commitment required, and 38% did not accurately budget for the full cost. Painting ranked among the most commonly attempted projects in the survey and among the most commonly mishandled.
The mistakes are rarely dramatic. Most of them are quiet: a prep step skipped, a primer coat omitted, a finish chosen without understanding what it is designed for. None of them feels significant at the time. All of them show up in the finished result, whether immediately or over the following months, as the paint begins to fail in ways that require the job to be redone.
Here is a breakdown of the interior painting mistakes homeowners make most frequently, why each one causes the problems it does, and what the correct approach looks like.
Skipping or Rushing Surface Preparation
This is one of the most consequential DIY painting mistakes and the one that drives the majority of premature paint failures. The logic behind skipping it is understandable: prep is time-consuming, unglamorous, and invisible once the paint goes on. The consequences of skipping it are none of those things.
Paint bonds to surfaces through adhesion. That adhesion depends on the surface being clean, stable, and appropriately textured. Dust, grease, hand oils around switch plates and door frames, soap residue in bathrooms, and cooking vapors in kitchens all create a barrier between the paint film and the wall. The paint bonds to the contaminant rather than the surface, and when that contaminant releases, the paint goes with it.
Proper prep means washing the walls before painting, patching every hole and crack, sanding repaired areas flush with the surrounding surface, and removing all dust before any primer or paint is applied. Homeowners who treat this as optional are building their paint job on a compromised foundation, regardless of how good the paint is.
Skipping Primer
Primer is the step that most homeowners eliminate when they are trying to shorten a residential painting project. Paint-and-primer-in-one products have made this easier to rationalize, but the rationalization is only valid in limited situations.
On bare drywall, fresh patches, bare wood, or any surface with staining, tannin bleed, or significant color change, a dedicated primer coat is not optional. It seals porous surfaces so they absorb the finish coat evenly, blocks stains and tannins from bleeding through, and creates a consistent base that improves adhesion across the entire surface. Without it, bare and patched areas absorb paint at a different rate than the surrounding wall, producing visible dull spots, uneven sheen, and color variation that no number of finish coats will reliably correct.
Paint-and-primer-in-one products are appropriate for repainting over a sound, previously painted surface in a similar color. They are not a substitute for a dedicated primer on new drywall, heavily repaired walls, or surfaces with existing staining or bleed-through risk. Using them in those situations is one of the interior painting tips for homeowners that most DIY guides glossover.
Choosing the Wrong Paint Finish for the Room
Paint finish is a functional decision, not just an aesthetic one. Each sheen level has different performance characteristics that determine how the paint holds up in specific conditions.
Choosing a finish based on preference rather than application is one of the most common and most avoidable interior painting mistakes homeowners make.
Flat and Matte
Flat and matte finishes hide surface imperfections well and produce a soft, non-reflective result that many homeowners find appealing. The trade-off is durability. Flat paint cannot be wiped clean without damaging the paint film. In any room that sees regular contact, splashing, or cleaning, including kitchens, bathrooms, hallways, and children's rooms, flat paint will show marks, absorb stains, and degrade quickly. It is appropriate for ceilings and low-traffic bedroom walls, where it will rarely need cleaning.
Eggshell and Satin
Eggshell and satin are the workhorses of interior painting. They provide a mild sheen that reflects light slightly, resists moisture and cleaning, and holds up to the contact that living in a space involves. Satin is the standard recommendation for most interior walls in active rooms. Eggshell sits between flat and satin and works well in living rooms and dining rooms that see moderate use. Both are significantly more durable and cleanable than flat finishes without the high reflectivity that shows every surface imperfection.
Semi-Gloss and Gloss
Semi-gloss is the correct finish for trim, doors, window frames, and cabinetry. It is harder, more moisture-resistant, and easier to wipe clean than any lower sheen finish. Its higher reflectivity highlights surface imperfections on walls, which is why it is rarely the right choice for large wall surfaces. Applying semi-gloss to walls rather than just trim is a common mistake that produces a result that looks institutional rather than finished.
Using Low-Quality Tools and Paint
Looking for ways to avoid painting mistakes? The issue might be the tools you are using. Budget tools and cheap paint are among the most reliable ways to produce an amateur-looking result regardless of technique. This is one area where the quality of the input directly determines the quality of the output.
Cheap roller covers shed fibers into the wet paint, leaving a textured surface that looks rough under raking light. Low-quality brushes do not hold paint consistently and produce uneven coverage on cut-in edges. Discount paint has lower pigment load and less binder content than premium formulas, which means worse coverage, more coats required, faster fading, and earlier failure. The money saved on cheap tools and paint is almost always spent twice: once on the inferior materials and again on the additional time and materials required to fix what they produced.
A quality synthetic brush, a good roller frame with the appropriate nap thickness for the surface texture, and a premium paint product from a reputable brand are the minimum inputs for a result that looks professional and holds up over time.
Not Maintaining a Wet Edge
Lap marks, the visible lines where two sections of paint overlap at different stages of drying, are one of the most recognizable signs of a DIY paint job. They happen when a homeowner paints one section of a wall, lets it partially dry, and then rolls over it with a fresh section. The dried edge creates a ridge that shows through the next coat as a raised seam or color variation
The technique that prevents lap marks is maintaining a wet edge throughout the entire wall. This means working in sections large enough that the previously painted area is still wet when the next section is rolled into it. On large walls, this requires working quickly and consistently from one end to the other without stopping in the middle. It also means loading the roller sufficiently so that paint is not applied in thin, fast-drying passes.
Temperature and humidity affect how quickly paint dries, which affects how aggressively a wet edge needs to be maintained. Painting in a warm, dry room with the HVAC running requires more speed than painting in cooler, more humid conditions, where the open time of the paint is longer.
Applying Paint Too Thick or Too Thin
Paint coverage is not simply a function of how much paint goes on the wall. It is a function of how many properly applied coats are used. Both over-application and under-application create problems.
Paint applied too thickly runs, drips, and sags. On vertical surfaces, heavy coats pool at the bottom of each roller stroke and dry into visible drips that are difficult to sand out without creating additional surface problems. Thick coats also take significantly longer to cure, which means the second coat is sometimes applied before the first has fully dried, trapping moisture and solvent that causes adhesion failure over time.
Paint applied too thinly stretches the coverage too far, producing transparent, streaky results that require additional coats to correct. This is often the result of over-diluting paint with water to make it spread further, which also reduces the binder content of the film and shortens its lifespan. Two properly applied coats at the manufacturer's recommended spread rate produce better results than three or four thin, over-worked coats.
Ignoring Drying Time Between Coats
Drying time and cure time are not the same thing, and the distinction matters in interior painting. Paint that is dry to the touch is not yet ready for a second coat in most cases. The surface may feel dry while the underlying film is still releasing solvent and moisture. A second coat applied over a not-fully-dried first coat traps that moisture, which causes adhesion problems, sheen inconsistency, and, in some cases, wrinkling of the paint film.
Most interior latex paints require a minimum of two to four hours between coats under normal conditions, with some premium products specifying longer recoat windows for maximum performance. In humid conditions or poorly ventilated rooms, those windows extend further. Following the manufacturer's recoat time is not bureaucratic caution. It is the instruction that determines whether the two coats bond correctly to each other and to the surface beneath them.
Poor Cutting In Along Edges and Trim
Cutting in, the process of painting precise lines along ceilings, trim, and corners with a brush before rolling the main wall areas, is the most skill-dependent part of interior painting. It is also one of the most visible. A ragged cut-in line along the ceiling or a brush mark that extends onto the trim reads immediately as an amateur result, regardless of how well the rest of the wall is painted.
The most common mistake in cutting in is moving too fast. Precision requires a loaded brush, a steady hand, and controlled strokes that follow the edge without rushing. Painter's tape provides some protection but is not a substitute for technique, and tape that is not pressed firmly enough against the surface will allow paint to bleed underneath it, creating a different version of the same problem.
Cutting in before rolling, rather than after, is the correct sequence. Rolling the wall after the cut-in is complete blends the brush strokes from the cut-in into the rolled surface, softening the transition and creating a more uniform finish. Cutting in after rolling leaves visible brush texture on an otherwise rolled surface.
Painting Over Problem Areas Without Addressing Them
Water stains, mildew, tannin bleed from wood knots, and smoke or nicotine residue all share one characteristic: they do not stay covered by standard paint. They bleed through, often within days of a fresh coat, making the new paint look immediately compromised.
This is why paint peels or discolors after painting in rooms where these issues exist. Standard paint is not a stain blocker. It is a finish coat. Applying it over active mildew, heavy staining, or knots in raw wood without a dedicated stain-blocking primer first produces a result that will look fine for a short period and then visibly fail as the underlying problem works its way through the film.
Some stain-blocking primers are specifically formulated for these situations. They seal the problem before the finish coat goes on rather than hoping the finish coat will contain it. One coat of the right primer over a problem area takes fifteen minutes and prevents a repaint that would take considerably longer.
Interior Painting Services from Fresh Coat Painters of Beaufort
At Fresh Coat Painters of Beaufort, we follow a process that eliminates these mistakes before the first finish coat goes on. Preparation, primer, product selection, and application technique are all part of every job we take on, not shortcuts we weigh against time pressure.
Contact us today for a free quote and find out what an interior paint job looks like when every step is done correctly from the start.