How to Fix Peeling Paint Before Repainting
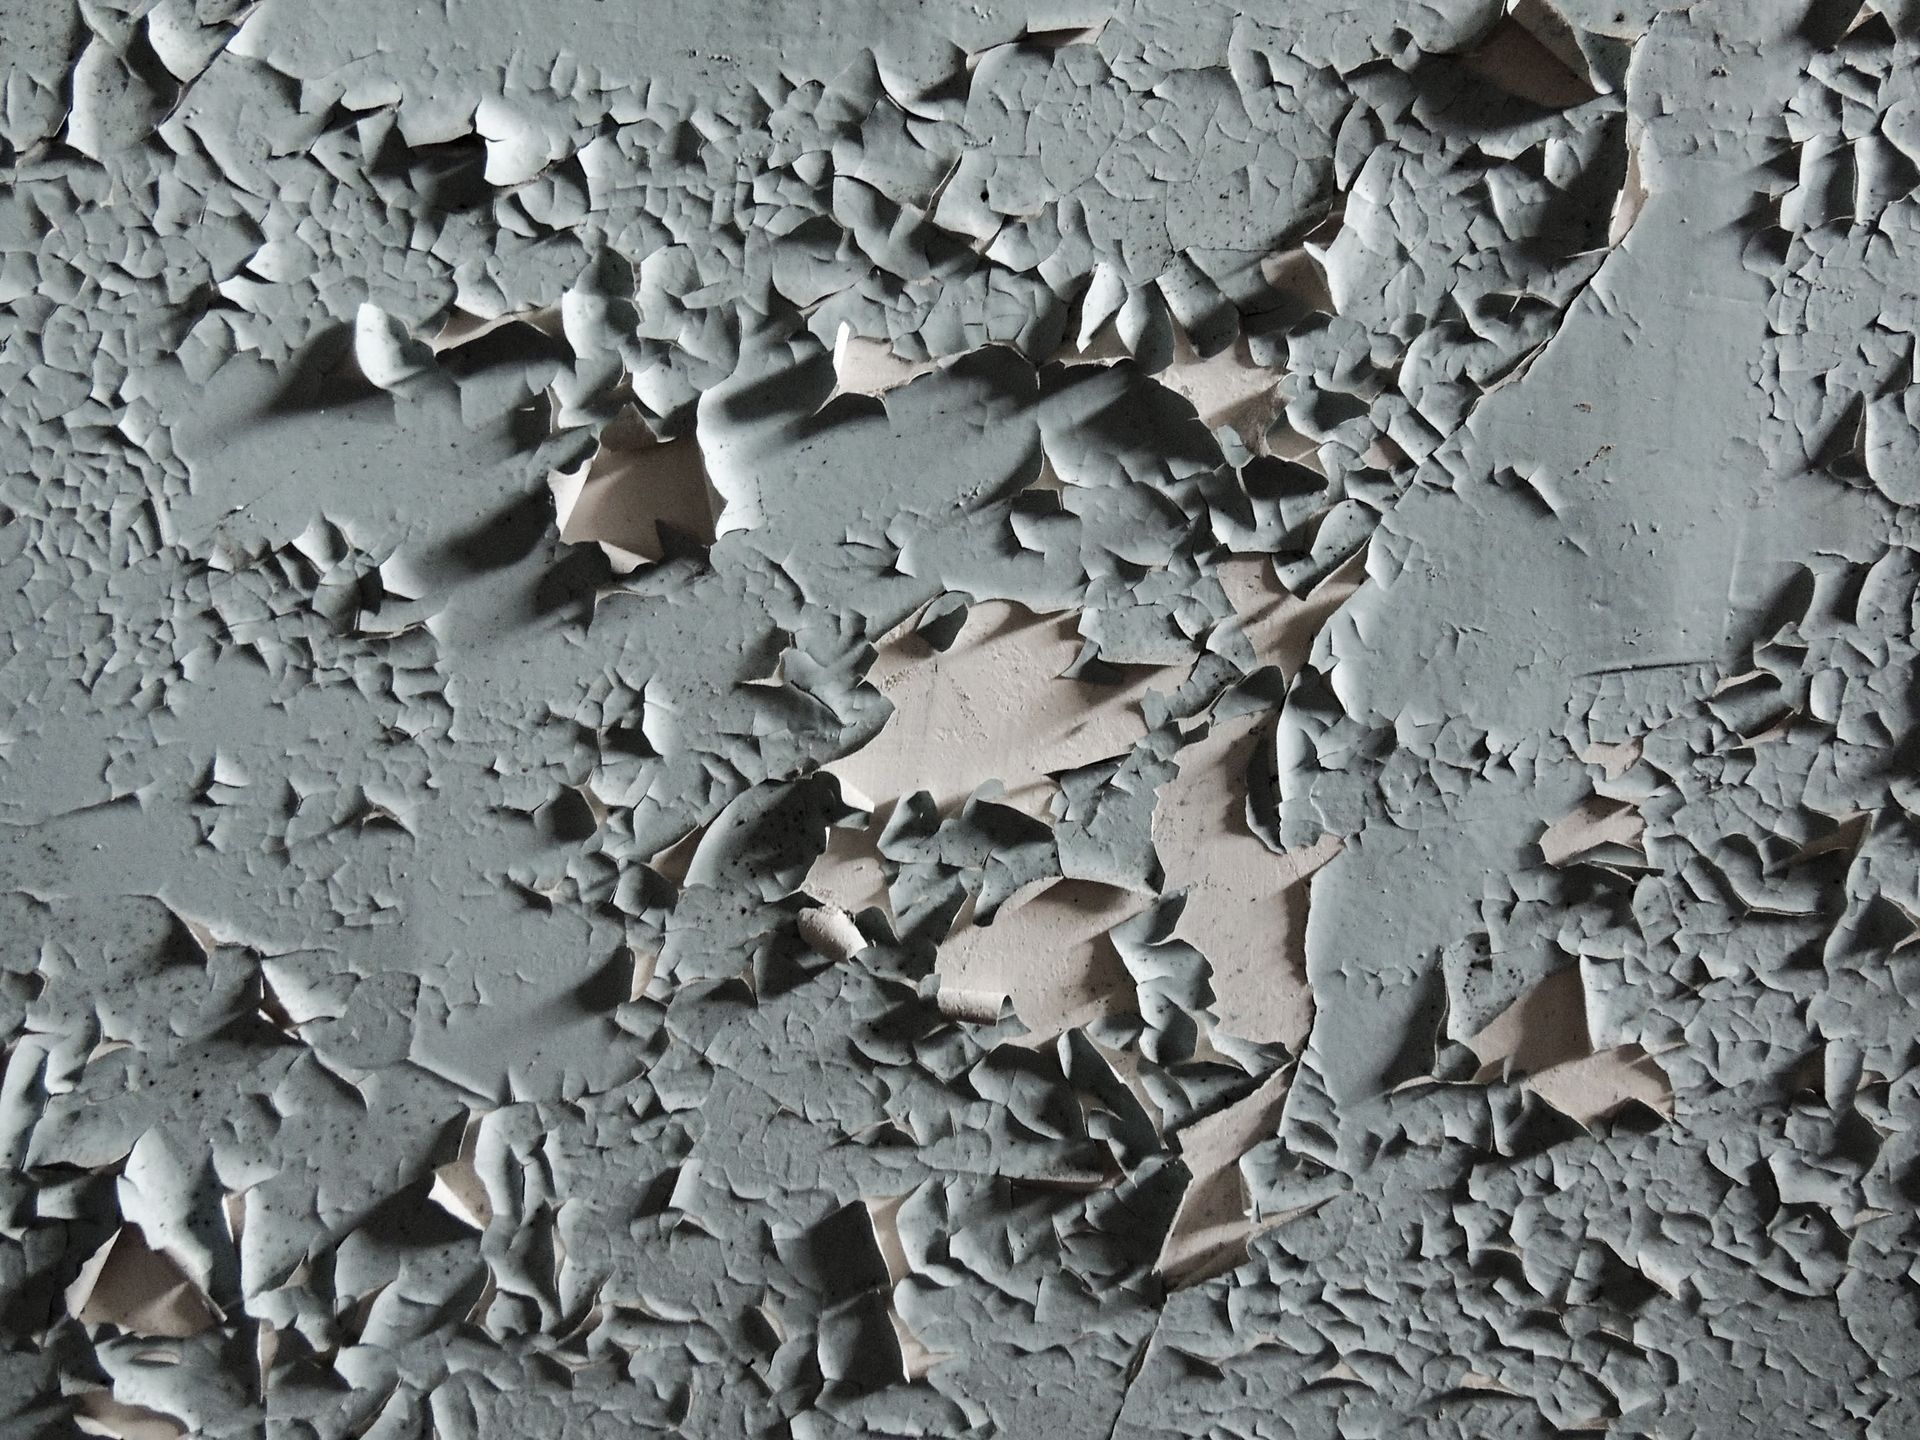
Peeling paint looks like a cosmetic problem. In almost every case, it is a symptom of something else. According to the Paint Quality Institute, moisture is the leading cause of exterior paint failure, and Joseph Umana, a licensed painting contractor quoted in Family Handyman, puts it directly: "It's usually bad prep work." Repainting over peeling paint without fixing the underlying cause produces a paint job that fails again in the same spots, often within months. The new coat bonds to the failing old coat rather than to the substrate, and the failure repeats.
Fixing peeling paint correctly before repainting is a multi-step process that starts with understanding why the paint is failing, removing everything that is not fully adhered to the surface, addressing whatever caused the failure, and then rebuilding the surface with primer before the new paint goes on. Skipping any of those steps produces a result that does not last.
Here is a complete breakdown of why paint peels, how to identify the cause, and the correct sequence on how to fix peeling paint before repainting.
Why Paint Peels: Identifying the Root Cause
Paint fails when the bond between the paint film and the surface beneath it breaks down. That bond breaks for specific reasons, and the pattern and location of the peeling almost always identifies which one is at work. Treating the symptom without treating the cause produces the same failure again.
Moisture
Moisture is the most common driver of both interior and exterior paint peeling. Water that enters the substrate from behind the paint film, whether from a leak, condensation, high humidity, or inadequate vapor control, pushes outward as it tries to evaporate. That outward pressure breaks the adhesive bond between the paint and the surface, producing the blistering, bubbling, and eventual peeling that homeowners recognize.
On exterior surfaces, moisture enters through failed caulking around windows and doors, through gaps in the siding at joints and penetrations, and through the natural porosity of unprotected or aging wood. In the Pacific Northwest climate around Bonney Lake, where rainfall is substantial and humidity stays elevated through much of the year, moisture-driven paint failure is a more persistent risk than in drier climates and requires more deliberate attention to caulking, drainage, and vapor management.
On interior surfaces, the culprits are typically bathroom steam, kitchen humidity, laundry room moisture, and slow plumbing or roof leaks that saturate wall material before any visible water damage is apparent. Any of these moisture sources must be resolved before repainting. Paint applied over an active moisture problem will fail again regardless of product quality or application technique.
Poor Surface Preparation
Paint that was applied over a dirty, glossy, or unstable surface is bonded to the contaminant or failing layer rather than to the substrate itself. When that intermediate layer fails, the paint goes with it. This is why walls that received multiple paint jobs over many years without proper
preparation between coats can produce large-scale peeling where entire paint layers lift away together.
Painting over existing chalking, the powdery white residue that develops as paint ages and the binder breaks down, is one of the most common preparation failures. Chalky paint looks like it could accept a new coat, but it has essentially become a loose powder between the new paint and the wall. The new paint bonds to the chalk, the chalk releases from the wall, and the entire system peels.
Incompatible Paint Products
Latex paint applied over oil-based paint without proper preparation is a reliable source of peeling. Oil-based paint, once cured, is hard and relatively inflexible. Latex paint is softer and more flexible. The two materials expand and contract at different rates with temperature and humidity changes, and the interface between them becomes the failure point. The latex layer lifts away from the oil-based layer beneath it, often in large sheets.
This is a common problem in older homes where oil-based paint was the standard for decades before latex products became dominant. If the existing paint is oil-based, sanding to dull the surface and applying a bonding primer before the new latex coat is the correct preparation sequence. Skipping either step produces adhesion failure.
Age and Natural Brittleness
Paint that has reached the end of its useful life becomes brittle, loses flexibility, and can no longer accommodate the normal expansion and contraction of the substrate. Fine cracking develops, moisture enters through those cracks, and the already weakened film begins to lift. This is not a failure of application or product quality. It is the natural end of a paint film's service life and the signal that repainting is due.
How to Fix Peeling Paint: The Correct Repair Sequence
Step One: Resolve the Moisture Source
This step comes before any physical repair work. If moisture is driving the peeling, every subsequent repair step is wasted until the moisture source is eliminated. On the exterior, this means inspecting and replacing failed caulking around all windows, doors, trim, and penetrations. It means checking gutters and downspouts to ensure they are directing water away from the foundation and siding. It means looking for rot or gaps in the siding envelope where water can enter behind the surface.
On the interior, it means fixing the leak, improving bathroom and kitchen ventilation, and allowing any saturated wall material to dry completely before any repair work begins. Repainting damp walls produces the same peeling problem again. How long drying takes depends on the severity of the moisture exposure and the conditions in the space, but at minimum, any previously wet surface should be allowed a week of ventilated drying time before prep work begins.
Step Two: Scrape All Loose and Failing Paint
Once the moisture source is resolved, the physical repair sequence begins with removing every piece of paint that is not fully adhered to the substrate. Professional painters don’t treat it as optional, and it is not a step where partial is acceptable. Any loose paint left behind becomes the weak link that causes the new coat to fail in exactly the same locations.
Use a quality paint scraper held at a low angle to the surface, working systematically across the peeling area. The goal is to remove all paint that releases with moderate pressure. Paint that resists the scraper and stays firmly bonded to the surface is sound and can remain. Paint that lifts or shifts under the scraper has compromised adhesion and needs to come off. For larger exterior areas with widespread peeling, a power sander or wire brush attachment speeds the process. The same rule applies: anything that is not fully bonded needs to be removed. The resulting surface will be uneven, with exposed substrate in some areas and sound paint in others. That is the correct starting point for the repair.
Step Three: Prep Peeling Walls for Paint
After scraping, the boundary between where paint was removed and where sound paint remains creates a raised edge. That edge will telegraph through the new paint as a visible ridge if it is not addressed. Sand the edges of the remaining paint with 100-grit sandpaper to create a gradual taper from the paint surface down to the bare substrate. The transition should feel smooth to the touch, with no abrupt step between the two surfaces.
On interior walls, this feathering step also removes any gloss from the surrounding paint surface, improving adhesion of the primer and new coat. On exterior surfaces, additional sanding of the sound paint around the repair area helps the new coat blend visually with the surrounding finish.
Step Four: Clean the Surface
Dust from scraping and sanding, along with any remaining contaminants on the surface, needs to be removed before primer goes on. On interior walls, wiping with a damp microfiber cloth and allowing the surface to dry fully is sufficient. On exterior surfaces, washing the repair area with a TSP solution or exterior cleaner, then rinsing with clean water and allowing adequate drying time, removes both the repair dust and any residual contaminants from the surrounding area. This step is particularly important for peeling prep walls that are near kitchens, bathrooms, or exterior surfaces that accumulate grease, mildew, or environmental deposits. Any residual contamination between the new primer coat and the substrate is a future adhesion failure waiting to develop.
Step Five: Repair Damaged Substrate
Scraping and sanding often reveals damage to the substrate beneath the failing paint. Interior drywall may show soft spots, gouges, or surface paper damage where moisture has weakened the material. Exterior wood may show rot at the grain or in localized areas. These issues need to be addressed before primer is applied.
Interior drywall repairs use joint compound applied in thin layers, allowed to dry fully between coats, and sanded smooth and flush with the surrounding surface. For areas with significant
drywall damage from moisture, replacement of the damaged section may be more practical than attempting to repair it with compound.
Exterior wood rot that is localized and has not compromised the structural integrity of the board can be stabilized with penetrating epoxy consolidant and filled with two-part epoxy filler, sanded flush, and primed. Wood rot that is structurally significant or widespread requires board replacement before repainting. Paint over actively rotting wood does not stop the process. It conceals it temporarily while the deterioration continues beneath the surface.
Step Six: Prime the Repaired Areas
Primer is not optional when repainting over peeling paint repairs. Bare substrate, whether exposed drywall, bare wood, or raw masonry, absorbs paint at a different rate than the surrounding primed surface and will produce visible dull spots and uneven color depth in the new finish coat if not primed first. Primer also re-establishes the adhesion layer that the peeling paint failed to maintain.
For interior repairs, a high-quality PVA drywall primer on bare drywall areas and a bonding primer on areas where the existing paint was found to be glossy or where adhesion was questionable provides the correct base. For exterior repairs, an oil-based primer over bare wood provides maximum penetration and adhesion, particularly in the wet Pacific Northwest climate where moisture resistance in the primer layer is a meaningful performance factor. Stain-blocking primer should be used wherever water staining is present on interior surfaces, and wherever tannin-rich wood species like cedar or redwood are exposed on exterior surfaces. Without stain-blocking primer, tannins bleed through multiple finish coats and produce visible discoloration regardless of how many coats are applied over them.
Step Seven: Apply the New Paint
With the surface properly prepared and primed, the new paint can be applied with confidence that it is bonding to a stable, clean, properly primed substrate rather than to a compromised surface that will repeat the failure. Two full coats with appropriate drying time between them,
applied at the manufacturer's recommended spread rate, produce the coverage and film thickness required for a durable result.
On the exterior, painting in favorable conditions matters. In the Bonney Lake and Pierce County area, this means avoiding painting during rain or in the hours immediately following rain, checking that surface temperatures are within the product's application range, and allowing adequate cure time before the surface is exposed to moisture. Premium 100% acrylic latex products formulated for Pacific Northwest conditions provide the flexibility and moisture resistance that the climate demands.
When to Call a Professional
Some peeling paint situations are straightforward repairs that a careful homeowner can address with the right materials and time. Others involve conditions that make professional assessment and execution the more practical choice.
Widespread exterior peeling affecting a significant portion of the siding surface, peeling that has recurred in the same locations despite previous repairs, peeling accompanied by soft or rotting wood, peeling on homes built before 1978 where lead paint may be present, and any situation where the moisture source is not clearly identified and resolved all warrant a professional assessment before repair work begins. Repainting over unresolved conditions produces another paint failure, not a lasting result.
Interior and Exterior Painting Services from Fresh Coat Painters of Bonney Lake
At Fresh Coat Painters of Bonney Lake, we assess the cause of paint failure before any repair work begins. In the Pacific Northwest climate, moisture management is the foundation of every exterior project we take on, and our repair process addresses the source before the surface. We do not repaint over problems.
Contact us today for a free quote and find out what a properly diagnosed, correctly repaired, and professionally repainted surface looks like when the work is done right from the start.