
How to Protect Furniture and Floors During Painting
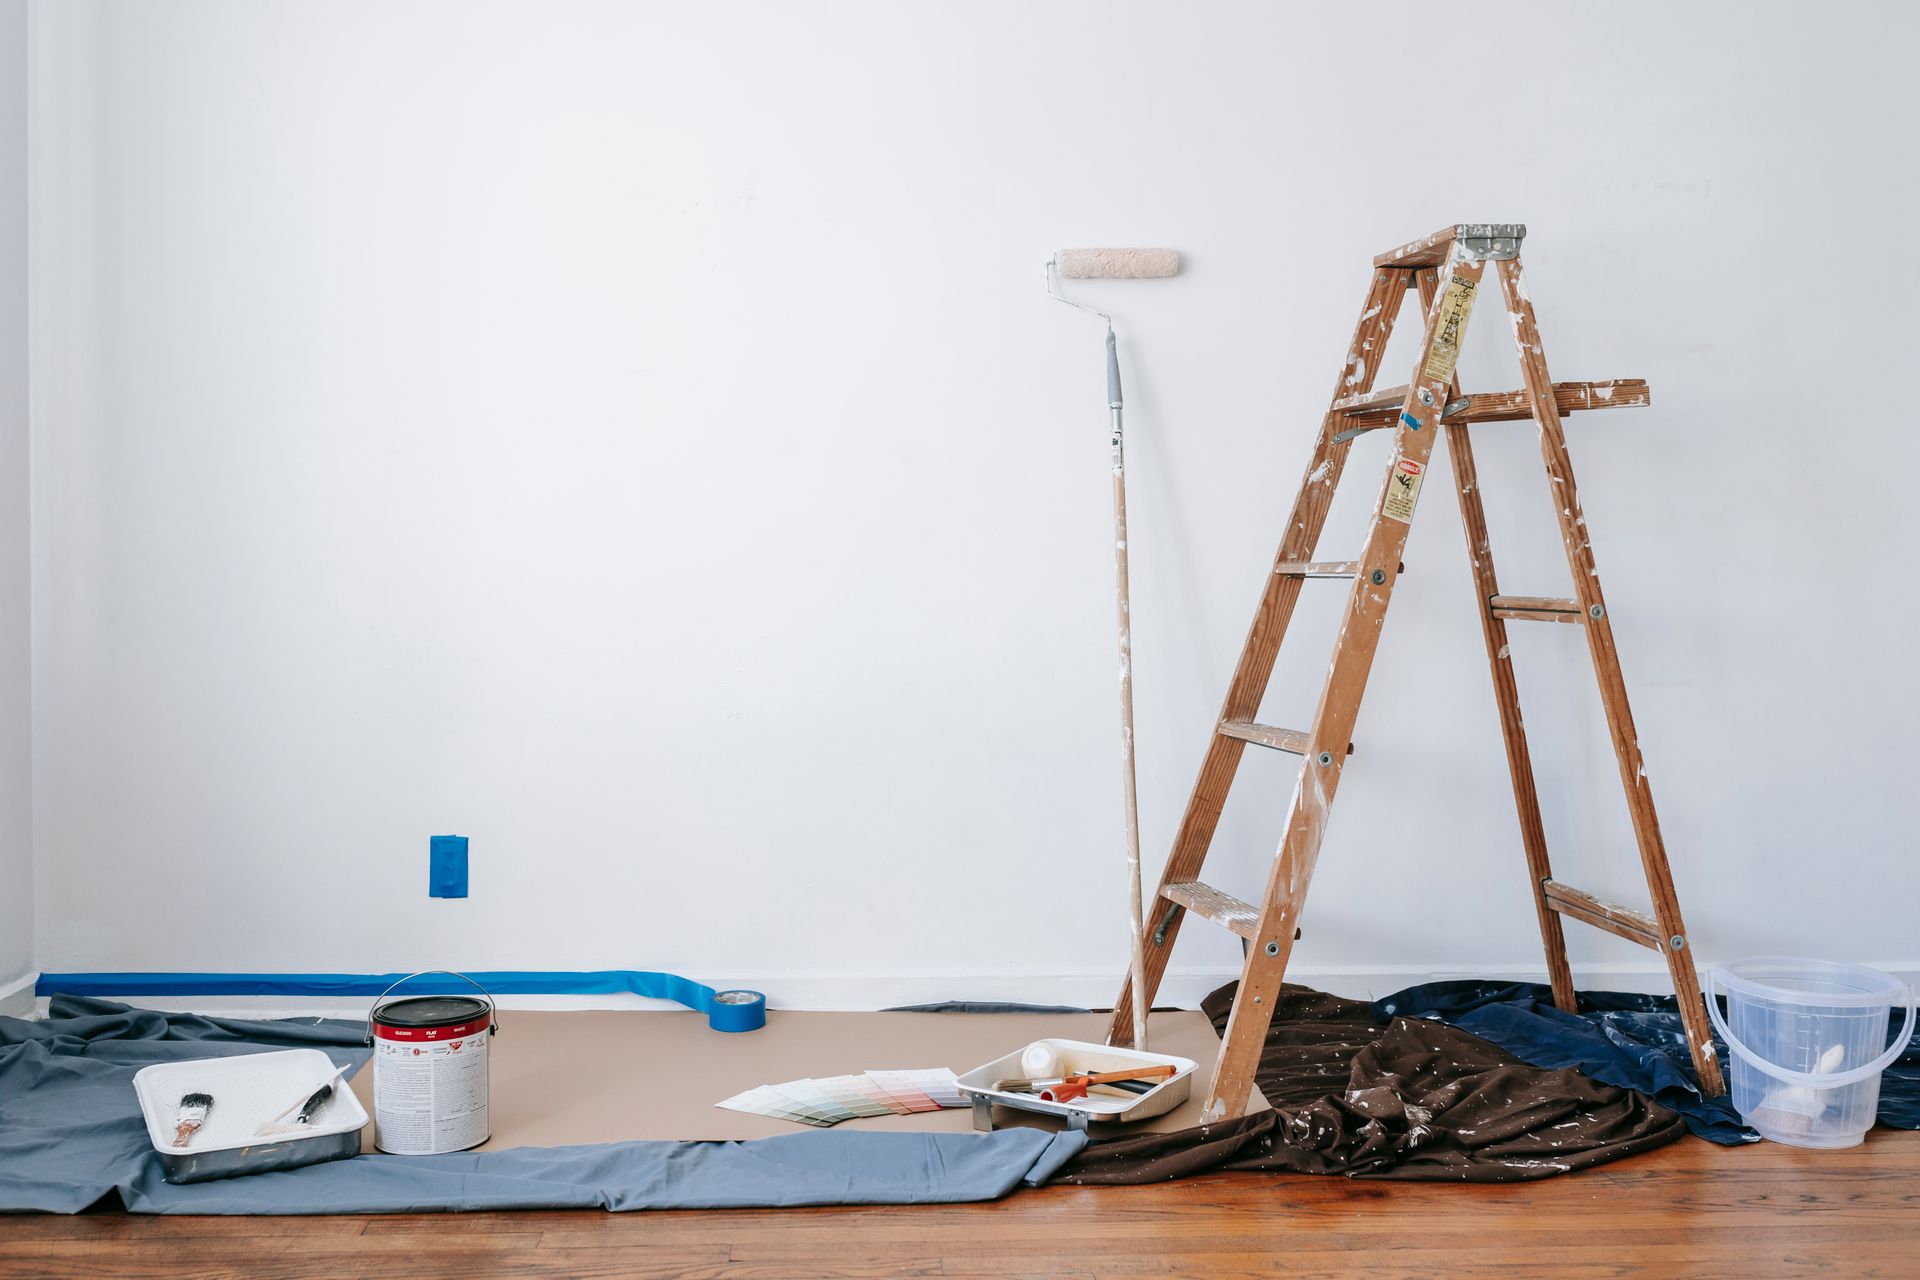
Paint damage to furniture and floors is more common and more costly than most homeowners expect before a project begins. A Furniture Faux Pas Study by SquareTrade found that ink and paint accounted for 16% of all furniture damage causes among U.S. households, and that 51% of those who damaged furniture ended up spending additional money on repairs or replacement. A single unprotected paint spill during a weekend project can easily generate a repair bill that dwarfs what the paint job itself cost.
The good news is that protecting floors and furniture during a paint job is straightforward when the right materials are used correctly. Most damage happens not from catastrophic spills but from the steady accumulation of small drips, tracked footprints, and roller splatter that goes unnoticed until the job is done and the drop cloths come up.
Here is a practical breakdown of how to protect floors and furniture while painting, what materials work for different surfaces, and where the most common protection failures happen.
Start by Removing What You Can
The most reliable protection for furniture is not covering it. It is removing it from the room entirely. A piece of furniture that is not in the room cannot be splattered, bumped into, or damaged by a roller loaded with paint.
For most rooms, removing as much furniture as possible before painting begins is the right starting point. Smaller items, lamps, side tables, chairs, and decorative pieces should be moved out completely. Larger items that cannot be removed should be pushed to the center of the room and grouped together, away from all four walls, so that the working area around the perimeter is clear.
Grouping furniture in the center also reduces the total surface area that needs to be covered, which means less material, faster setup, and a lower risk of coverage gaps at the edges of drop cloths where spills are most likely to escape protection.
Choosing the Right Drop Cloths for Painting
Not all drop cloths for painting perform the same way, and the wrong choice for the surface being protected creates its own set of problems. The three main options are canvas, plastic sheeting, and rosin paper, and each has a specific application where it outperforms the others.
Canvas Drop Cloths
Canvas is the professional standard for floor protection during interior painting, and for good reason. It is heavy enough to stay in place without being taped at every edge, it absorbs paint drips rather than letting them pool on the surface, and it can be reused across many projects. The weight of a canvas drop cloth also means it does not shift underfoot the way lighter materials do, which reduces the risk of stepping on a sliding edge and tracking paint across an unprotected area.
The limitation of canvas is that it is not fully waterproof. A large spill left to sit on canvas long enough will eventually bleed through to the floor beneath, particularly on porous hardwood or unfinished wood subfloors. Canvas works best for normal drip and splatter protection. For areas near heavily loaded paint trays or roller pans where spills are more likely, layering canvas over plastic sheeting provides the absorbency of canvas on top and the waterproof barrier of plastic beneath.
Plastic Sheeting
Plastic sheeting is fully waterproof and inexpensive, which makes it appealing for whole-room coverage. Its significant drawback is that it does not absorb paint. Drips pool on the surface and remain wet, which means stepping on them transfers fresh paint to every subsequent surface.
On hard floors, plastic sheeting is also slippery underfoot, creating a safety hazard during the job. Plastic is most effective when used as a base layer beneath canvas, as furniture covering, and for protecting carpeted areas where the waterproof barrier matters more than traction. Securing plastic sheeting to carpet with painter's tape at the edges prevents it from shifting and keeps the perimeter sealed against paint migration.
Rosin Paper
Rosin paper is a heavy kraft paper available in rolls that provides lightweight floor protection with good traction. It is a strong choice for hardwood floors because it does not trap moisture against the surface the way plastic does, and it stays flat without shifting. It can be taped at the seams and along the edges for complete coverage and is easier to maneuver around furniture legs and tight spaces than rigid materials.
Rosin paper is not appropriate for carpet because it does not provide a moisture barrier. For hardwood, tile, and laminate floors in rooms where paint splatter rather than direct spills is the primary risk, it is one of the most practical and cost-effective options available.
How to Cover Furniture for Painting
Furniture that cannot be removed from the room needs to be covered completely, not partially. A drop cloth draped loosely over a sofa that leaves the legs and base exposed is not adequate protection. Paint drips follow the surface of the wall down and land at the base of the wall, exactly where furniture legs sit when pushed against or near the perimeter.
For upholstered furniture grouped in the center of the room, heavy plastic sheeting secured with tape at the base provides a complete waterproof cover. The key is sealing the bottom edge so that any paint tracked across the floor cannot migrate underneath the covering onto the furniture legs or feet.
Hard furniture surfaces, including wood tables, dressers, and shelving, should be covered with canvas or old blankets rather than plastic alone. Canvas absorbs any contact moisture and does not trap condensation against wood finishes the way plastic does during longer projects. Hardware, drawer pulls, and decorative metal elements on furniture can be wrapped with painter's tape or plastic wrap as an additional layer of protection against overspray and splatter.
Using Painter's Tape Correctly
Painter's tape is the tool that creates the boundary between where paint goes and where it does not. Used correctly, it produces clean lines and protects trim, baseboards, and floor edges from paint bleed. Used incorrectly, it fails at exactly the moment it matters.
Protect Hardwood Floors When Painting Baseboards
The junction between the baseboard and the hardwood floor is the most vulnerable point in any interior paint job. Paint applied to baseboards runs down onto the floor surface, and without proper tape application, it seeps under the brush and onto the wood.
Apply painter's tape for floors directly to the surface along the base of the baseboard, pressing it firmly enough that no gap exists between the tape edge and the floor. A putty knife or credit card run along the tape edge after application ensures full contact. Any gap, even a small one, allows paint to wick underneath and onto the floor surface.
For hardwood floors specifically, remove the tape as soon as the paint is dry to the touch rather than waiting until the job is fully complete. Paint that has had time to cure can pull the surface finish of hardwood along with the tape when removed, particularly on older floors with softer finishes.
Protect Carpet Edges
Painter's tape alone is not sufficient protection for carpet along baseboards. The tape edge sits above the carpet pile, and paint applied to the baseboard runs down behind the tape onto the carpet fibers before the tape has a chance to intercept it.
The correct approach is to tuck plastic sheeting or a thin drop cloth into the gap between the baseboard and the carpet using a putty knife, creating a physical barrier that sits flush against the wall rather than on top of the carpet surface. Painter's tape applied over the top of this material secures it in place and creates the clean edge needed for baseboard work.
Protecting Different Floor Types
Hardwood Floors
Hardwood is the floor type most susceptible to paint damage because latex paint bonds to wood finishes, and dried paint is extremely difficult to remove without damaging the floor surface underneath. Fresh paint can be wiped up with a damp cloth within minutes of contact, but paint that has dried even partially requires careful mechanical removal that risks scratching the finish. The protection approach for hardwood should include rosin paper or canvas as the primary covering, painter's tape at all baseboard edges pressed firmly to the floor surface, and immediate response to any paint that makes it through the covering. Keep a damp cloth within reach throughout the job so any drips that escape protection can be addressed before they dry.
Carpet
Carpet is more forgiving than hardwood with fresh latex paint because the fibers absorb the paint rather than bonding to a surface finish. Fresh latex paint can often be blotted out of carpet fibers with cold water and a clean cloth if addressed immediately. Dried paint is significantly harder to remove and may require a professional cleaner or, in severe cases, section replacement.
Cover carpet with plastic sheeting secured at the edges with painter's tape and tucked along baseboards as described above. For high-traffic paths through the room during painting, a layer of canvas over the plastic adds traction and absorbs the small amounts of paint that inevitably get tracked.
Tile and Laminate
Tile and laminate floors are the easiest to protect and the easiest to clean if paint does reach the surface. Paint does not bond as readily to glazed tile or laminate as it does to wood or carpet, which means dried paint can often be removed with a plastic scraper without damaging the surface.
Standard canvas drop cloths provide adequate protection for tile and laminate. The primary concern is securing the edges so that the cloth does not shift during the job and expose sections of the floor near the wall where most paint contact occurs.
Before You Start: A Quick Setup Checklist
Taking fifteen minutes to set up protection correctly before painting begins is faster and cheaper than addressing paint damage after the fact. Before any paint is opened, the floor should be swept or vacuumed so that no debris can puncture the drop cloth material or scratch the floor surface when walked on. Drop cloths should be laid starting from the wall outward, be it exterior painting or interior painting, with edges overlapping rather than leaving gaps at seams.
Painter's tape should be applied to all baseboards and trim edges, pressed firmly along the full contact edge. Furniture remaining in the room should be fully covered, with the base sealed. Paint trays and roller pans should be placed on a doubled layer of canvas rather than directly on the floor.
These steps take minutes and eliminate the majority of protection failures that lead to the repair costs described at the start of this article.
Interior Painting Services from Fresh Coat Painters of Maryville
At Fresh Coat Painters of Maryville, protecting your floors and furniture is part of how we set up every job, not an afterthought at the end. Our crews use professional-grade materials and take the time to secure coverage correctly before any paint is applied so that your home is left in the same condition it was in when we arrived, minus the old paint color.
Contact us today for a free quote and find out what a professionally managed interior paint job looks like from setup to cleanup.