
How to Prepare Siding Before Exterior Painting
How to Prepare Siding Before Exterior Painting
Exterior painting is one of the most significant investments a homeowner makes in the appearance and protection of their home. Most of that investment is determined before a single drop of paint goes on the wall. According to industry estimates, nearly 90% of all exterior paint failures are a result of inadequate surface preparation. The paint itself, the brand, the product grade, none of it matters if the siding underneath is not clean, stable, and properly primed.
This is the step that separates a paint job that holds up for seven to ten years from one that starts peeling in two or three. And it is the step most often rushed or abbreviated when homeowners take on the work themselves, or when contractors are cutting corners on the job.
Here is a complete breakdown of how to prepare siding for painting correctly, covering every material type and every step in the sequence that determines whether the final result lasts.
Why Exterior Siding Prep Determines Everything
Paint adheres to surfaces through a combination of mechanical and chemical bonding. For that bond to form correctly, the surface needs to be clean, dry, sound, and free of any barrier between the paint film and the substrate. Dirt, mold, mildew, chalk from degraded old paint, moisture, and loose or failing existing paint all prevent that bond from forming.
When paint is applied over any of these conditions, it bonds to the contaminant rather than the siding. That contaminant eventually fails, and the paint goes with it. The failure shows up as peeling, blistering, or cracking, often in the first or second year after application, well before the paint should need attention.
A mid-grade paint applied over a properly prepared surface will consistently outperform a premium paint applied over a dirty or compromised one. The prep is the foundation. The paint is what sits on top of it.
Step One: Inspect the Siding Before Anything Else
The prep sequence for exterior painting starts with a full inspection of the exterior before any cleaning or work begins. Walking the entire perimeter of the house and documenting what is there prevents surprises mid-project and ensures the prep plan addresses every issue rather than only the obvious ones.
What to look for includes peeling or blistering paint, areas of chalking where the paint surface has degraded to a powdery residue, visible mold or mildew growth as dark spots or streaks, cracks or gaps in the siding surface or around trim and windows, damaged or rotted wood, failed caulking at joints and penetrations, and any areas where moisture appears to be entering from behind the siding.
Moisture-related issues are the most important to identify at this stage because they need to be resolved before painting, not after. Paint applied over a moisture problem does not seal the moisture in. It traps it, which accelerates the damage and drives the new paint off the surface faster than the old paint failed.
Step Two: Pressure Washing Siding Before Painting
Cleaning the siding is the first active step in exterior siding prep, and it cannot be skipped regardless of how clean the surface appears to the eye. Dust, pollen, spider webs, airborne grease near the kitchen exhaust vent, and the invisible film of environmental contamination that builds up on every exterior surface all compromise paint adhesion if left in place.
Pressure Washing
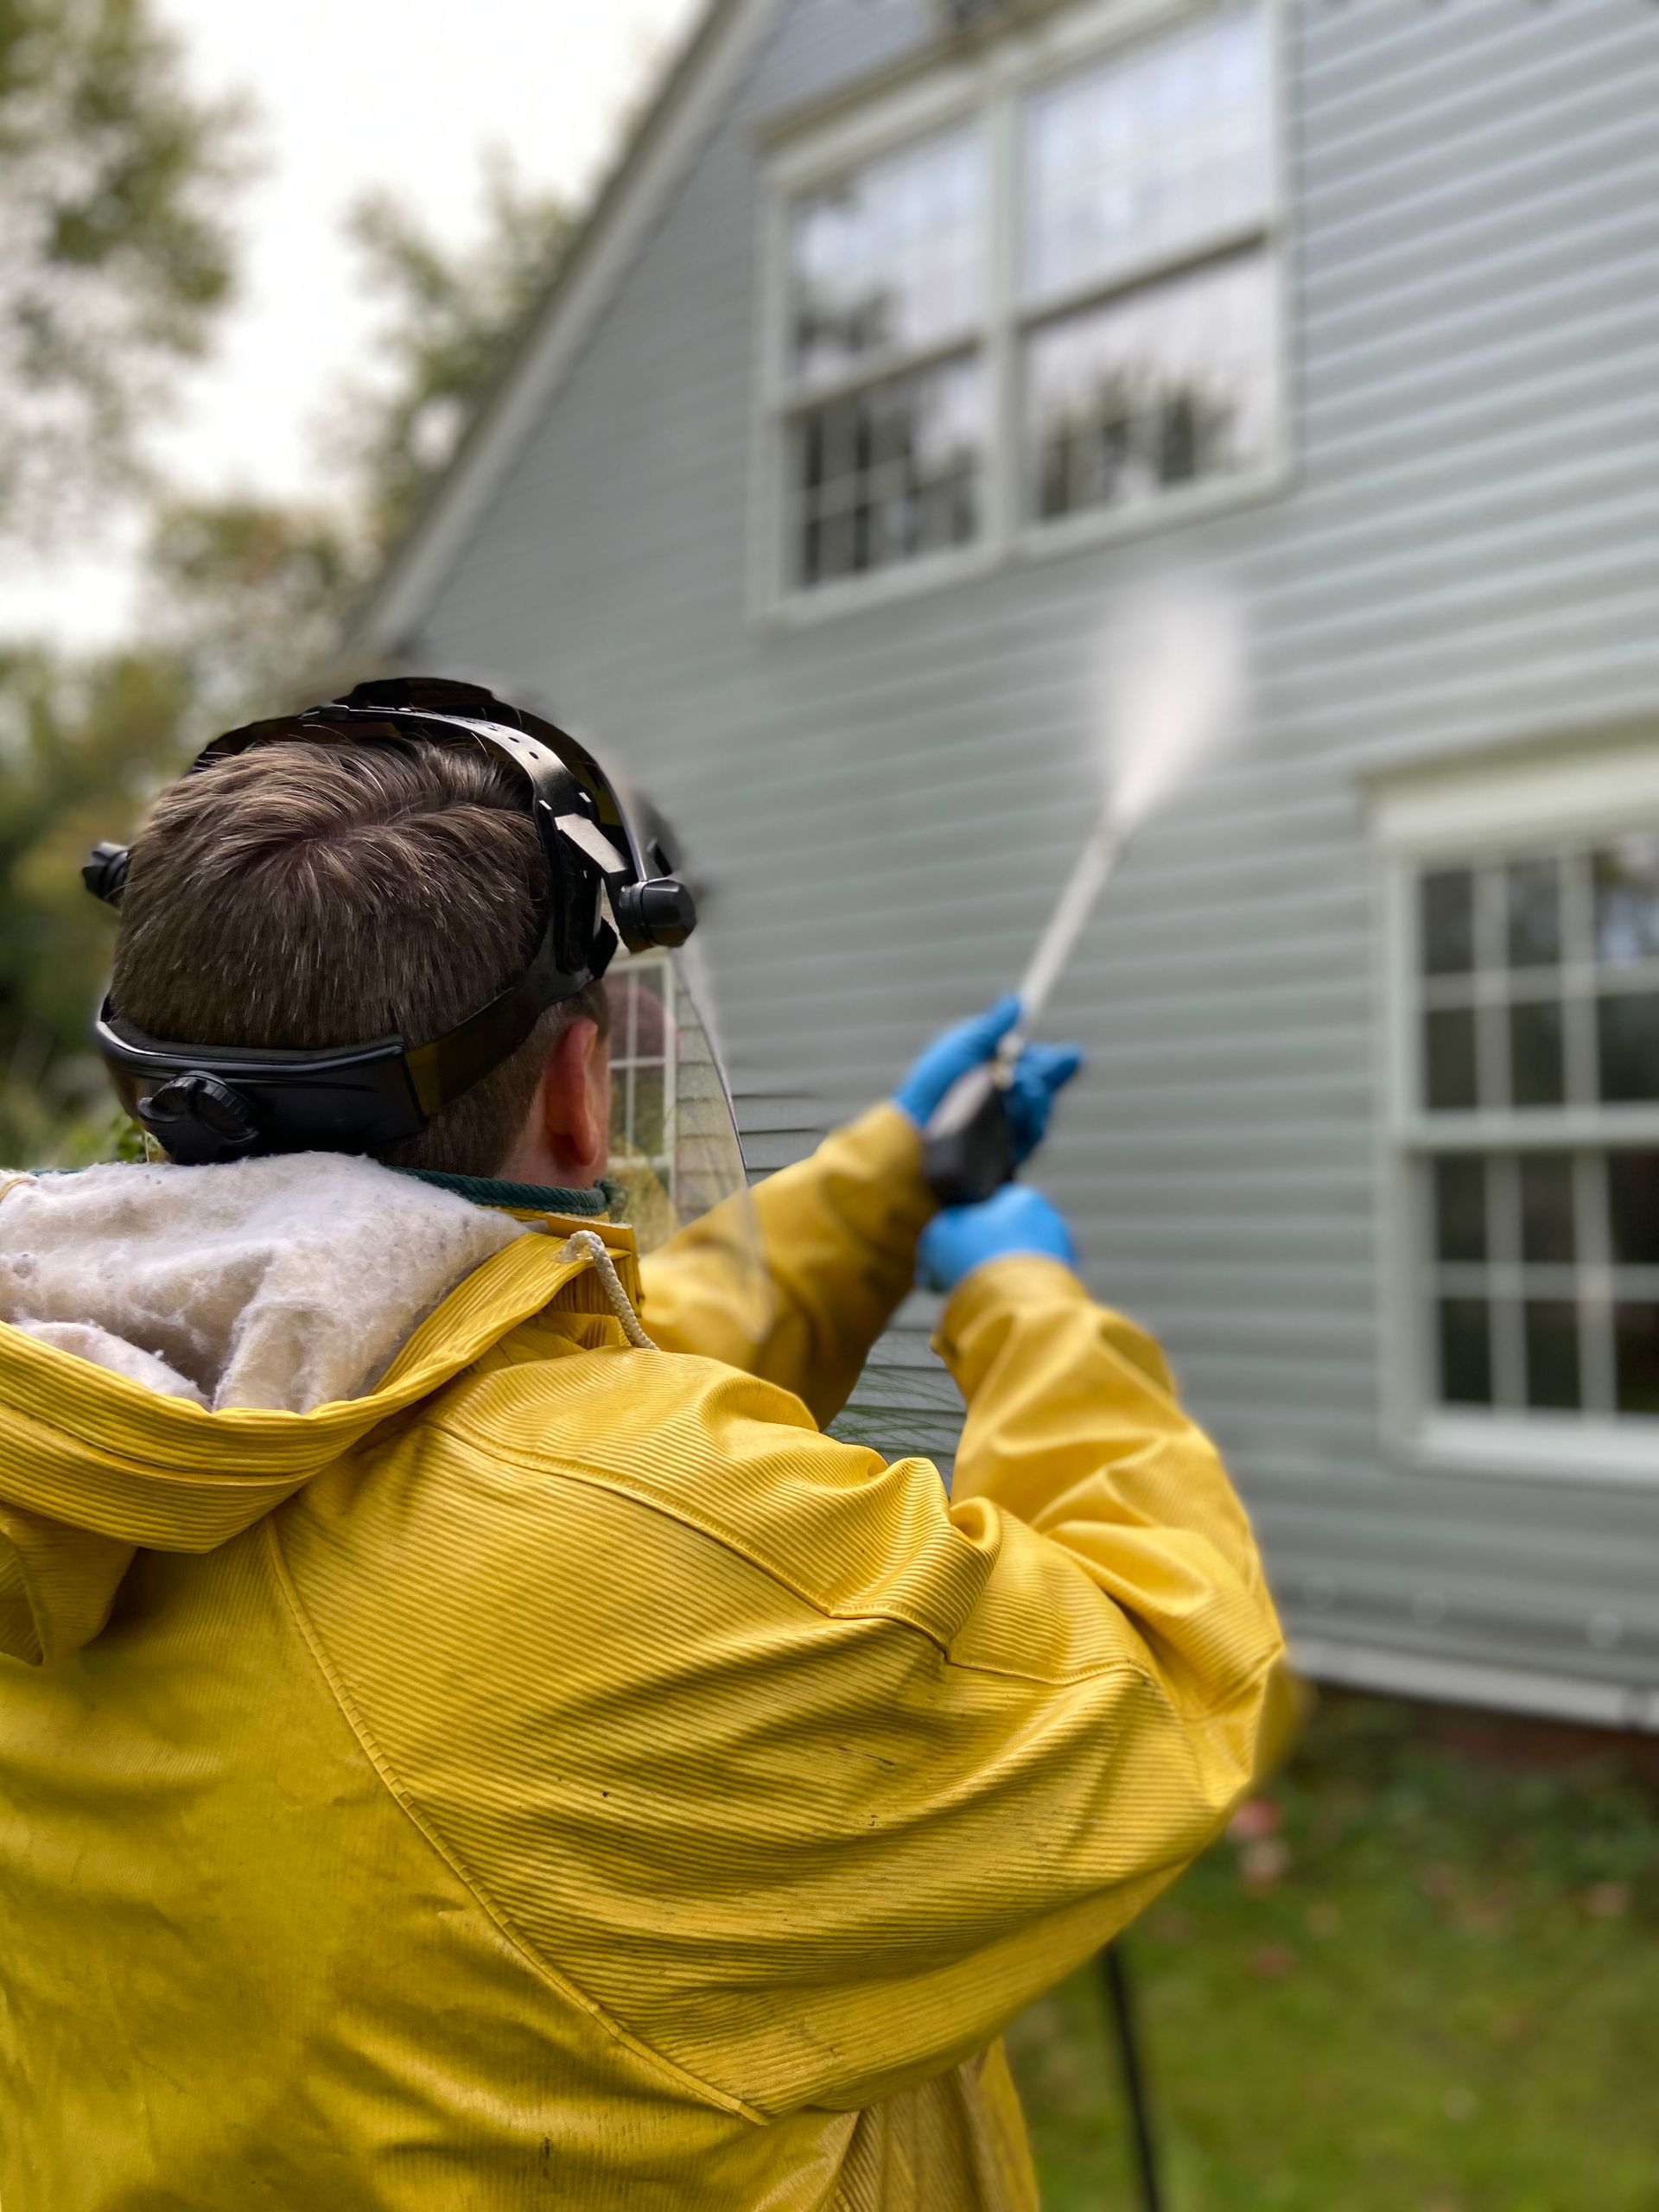
Pressure washing is the most efficient cleaning method for most siding materials, including vinyl, wood, fiber cement, and aluminum. It removes surface contamination, strips chalking from degraded paint, and dislodges loose or flaking paint that would need to be removed anyway in a later step.
The critical variable with pressure washing siding before painting is the pressure setting. Too high a pressure gouges wood, drives water behind siding panels, and can crack or chip fiber cement. For wood siding, a setting between 500 and 1,200 PSI with a 25-degree nozzle is generally appropriate. For vinyl and fiber cement, slightly higher pressure is acceptable because the surfaces are more resistant to mechanical damage. Always work the wand in the direction of the siding profile, not against it, to avoid forcing water into seams.
If mold or mildew is present, pressure washing alone does not kill it. A cleaning solution containing bleach diluted in water, or a dedicated mildewcide exterior cleaner, applied before pressure rinsing is required. Mold painted over without treatment will grow through the new paint film within a season.
Allow Full Drying Time
This is the step most often abbreviated and most consequential when it is. Paint and primer do not bond correctly to damp surfaces, and siding that has been pressure washed can hold moisture in joints, lap seams, and wood grain for significantly longer than the surface feels dry to the touch.
A minimum of 24 to 48 hours of drying time is recommended after pressure washing in dry conditions. In humid climates or periods of high humidity, that window extends to three to five days. Painting over siding that has not fully dried is one of the most reliable causes of blistering in the first season after a paint job. The moisture trapped beneath the paint film pushes outward as it tries to escape, lifting the paint off the surface.
Step Three: Scrape and Sand Failing Paint
Any existing paint that is peeling, flaking, or bubbling must be removed before new paint is applied. Painting over failing paint does not stabilize it. The additional weight of the new coating accelerates the failure and extends it to a larger area.
Hand scrapers and wire brushes remove the bulk of loose and peeling paint. A pressure washer at higher pressure during the cleaning phase removes a significant amount of failing paint before manual scraping begins, which reduces the labor involved. For large areas of paint failure, an oscillating multi-tool with a scraper attachment covers surface area faster than a hand scraper.
Once loose paint is removed, the edges of the remaining paint create a raised lip where the old coating ends and bare siding begins. Those edges need to be feathered with sandpaper so the transition is gradual rather than abrupt. An untreated edge creates a visible ridge under the new paint and is also a point where moisture can get underneath the new coating and cause it to lift.
All bare wood exposed by scraping must be primed before the finish coat is applied. Unpainted wood absorbs the finish coat unevenly and at a significantly higher rate than the surrounding primed surface, which produces visible variation in sheen and color depth in the finished result.
Step Four: Repair Damaged Siding
When considering how to repair siding before painting, timing means everything. Structural repairs to siding need to happen after cleaning and scraping, but before priming. Attempting to repair damaged siding over dirt or over existing failing paint produces repairs that do not hold.
Filling Cracks and Holes
Small cracks, nail holes, and surface voids in wood siding can be filled with exterior-grade spackling compound or a two-part polyester filler for larger voids. The key word is exterior-grade. Interior spackling does not withstand the moisture cycling and temperature expansion that exterior surfaces experience and will crack out of the repair within a season.
Apply filler in thin layers rather than attempting to fill a deep void in a single application. Thick applications shrink as they cure, which creates a depression rather than a flush fill. Allow each layer to dry completely, sand flush with the surrounding surface, and check for low spots before priming.
Replacing Damaged Boards
Wood siding boards that are soft, cracked through their full depth, or showing signs of rot need to be replaced rather than filled. Filler applied over rotted or structurally compromised wood does not restore the integrity of the board. It creates a cosmetic surface over a substrate that will continue to deteriorate beneath the paint, eventually causing the repair and the surrounding paint to fail.
When replacing sections of wood siding, the back and all cut ends of new boards must be primed before installation. Raw cut ends are the primary entry points for moisture into wood siding, and priming them before they are nailed in place is significantly more effective than attempting to prime the edges after installation.
Addressing Rot
Surface rot that has not penetrated deeply into the wood can sometimes be stabilized with a penetrating epoxy consolidant before filling with epoxy filler. This approach is appropriate for trim boards and areas where full replacement is impractical. For structural siding boards with significant rot, replacement is the correct call. Stabilizing rot buys time but does not eliminate the moisture source driving it, and without addressing that source, the rot returns.
Step Five: Caulk All Gaps and Joints
Caulking seals the points where water most commonly enters behind the siding surface: the joints between siding and trim, around window and door frames, at corner boards, and at any penetration through the siding envelope. Failed or missing caulk at these points allows moisture to infiltrate behind the paint film, which is one of the primary drivers of paint failure from behind rather than from the surface.
Remove old caulk that has cracked, shrunk, or pulled away from the surfaces it was bonding to before applying new material. Painting over failed caulk does not reactivate it. The paint bridges the gap briefly and then cracks along the same line as the failed caulk beneath it.
Use a paintable, flexible exterior caulk for all joints. Silicone caulk cannot be painted and is not appropriate for this application. Acrylic latex caulk with silicone added provides the right combination of flexibility, adhesion, and paintability for exterior siding applications. Apply it in a continuous bead, tool it smooth, and allow it to cure for the time specified on the product before priming over it.
Step Six: Prime the Siding
Primer is not optional on exterior siding, and treating it as such is one of the most consistent causes of premature exterior paint adhesion failure. Primer seals porous surfaces so the finish coat absorbs evenly, blocks tannins and stains from wood species that bleed through paint, and creates the bonding layer between the siding surface and the finish coat.
When Full Priming Is Required
Bare wood exposed by scraping, new replacement boards, patched and repaired areas, and any surface where the existing paint has been fully removed, requires a full coat of exterior primer before the finish coat is applied. This is non-negotiable. Finish paint applied directly to bare wood absorbs unevenly, lacks adequate adhesion, and will fail significantly faster than a finish coat applied over a primed surface.
Siding Material Specific Considerations
Different siding materials have different primer requirements. Bare wood siding benefits from an oil-based primer for maximum penetration and stain blocking, though high-quality acrylic primers perform well on clean, sound wood. Fiber cement siding requires a primer specifically formulated for that material, as standard wood primers do not bond adequately to the cement substrate. Vinyl siding that is being repainted over existing paint does not typically require a full prime coat, but any areas where the vinyl has been cleaned back to bare surface benefit from a bonding primer. Aluminum siding requires a self-etching primer to create adequate mechanical adhesion.
Timing and Weather Conditions
Even a properly prepared surface will produce a poor result if paint is applied under the wrong conditions. Most exterior paint and primer products specify application temperatures between 50 and 90 degrees Fahrenheit, with some premium products formulated for slightly wider ranges.
Painting below the minimum temperature produces a paint film that does not cure correctly, which compromises adhesion and durability. In Wichita's climate, spring and fall typically offer the most reliable windows for exterior painting. Summer temperatures frequently exceed the optimal application range in the afternoon, which means scheduling exterior work for early morning on the shaded sides of the house and following the shade around the structure as the day progresses. High humidity, rain in the forecast within 24 hours of application, and heavy wind all compromise the outcome and should be avoided.
Painting Services from Fresh Coat Painters of Wichita
At Fresh Coat Painters of Wichita, siding preparation is where every exterior project starts and where the longevity of the finished job is determined. We follow a thorough prep sequence on every project because we know that the paint is only as durable as the surface it goes on.
Contact us today for a free quote for interior painting or exterior painting and find out what a professionally executed paint job looks like from the first inspection to the final coat.